Tiki Bar Decor Ideas to Transform Your Space into a Tropical Oasis
Tiki Bar Decor Ideas to Transform Your Space into a Tropical Oasis
Essentials of Tiki Bar Decor
Creating the perfect Tiki bar involves understanding its rich history and key design elements. You can bring a tropical vibe to your space with a few essential features.
The History of Tiki Culture
Tiki culture began in the United States after World War II. Soldiers returned from the South Pacific, bringing home ideas about the islands. They loved the warm climate and relaxed atmosphere. Tiki bars became popular spots to escape everyday life.
These bars feature tropical drinks and island-inspired decor. Think carved wooden totems and bamboo accents. The Tiki trend grew during the 1950s and 1960s, with places like Trader Vic’s and Don the Beachcomber leading the way. The colorful, fun vibe of Tiki culture makes it a joyful experience.
Key Elements of Tiki Aesthetics
When designing your Tiki bar, focus on a few key elements. Use bamboo for furniture and accents. This adds a natural touch to your space. Decorative totems and masks bring an island feel. Look for authentic or replica pieces to make your bar unique.
Lighting is crucial—choose string lights or lanterns to create a warm atmosphere. Dark woods and vibrant colors should dominate the palette. Incorporating tropical plants like ferns and palms adds life to your bar.
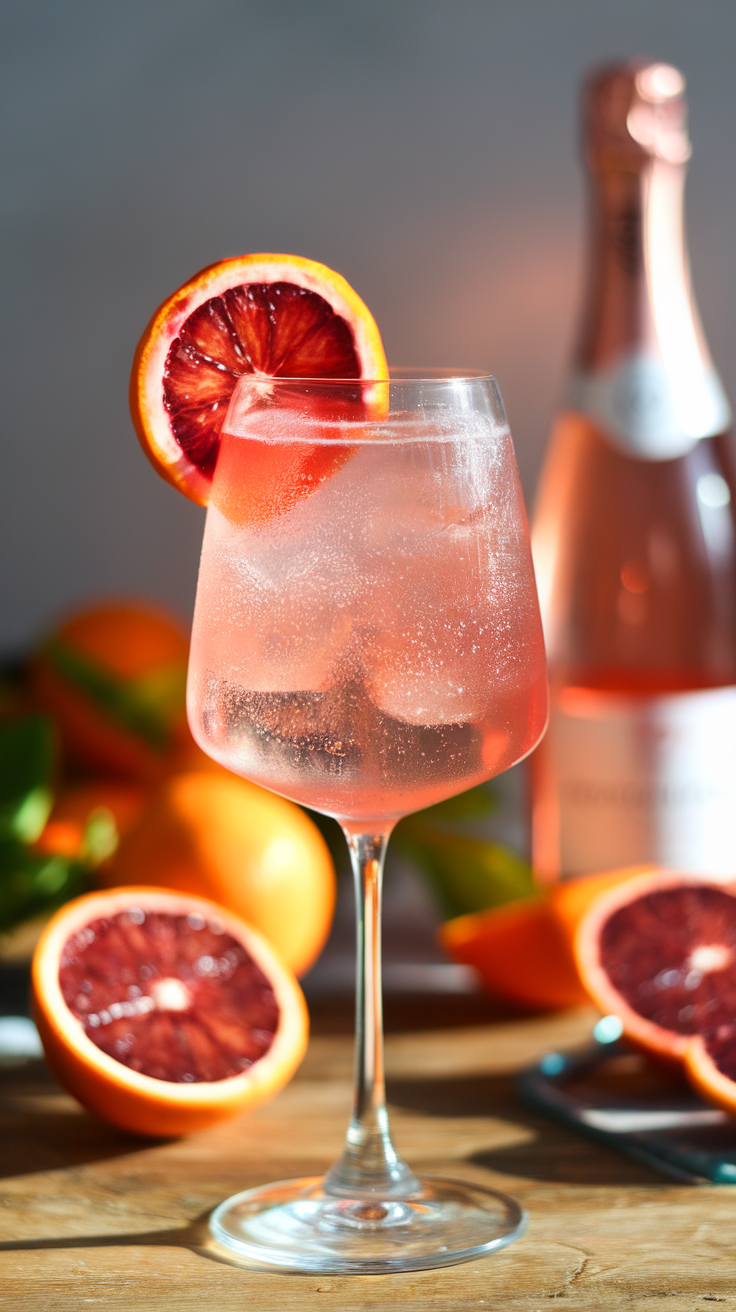
Finally, don’t forget the drinks! Fun, colorful drinkware and tiki mugs enhance the aesthetic. You can mix tropical cocktails that fit the theme, adding to the overall experience.
Designing Your Tiki Bar

Creating a tiki bar is all about fun and relaxation. You’ll want to focus on a theme that excites you, plan your space wisely, and choose materials that reflect authentic tiki style. Each of these elements will help you design a vibrant and welcoming atmosphere.
Choosing a Theme
Start by deciding on a theme for your tiki bar. Consider styles like traditional Polynesian, modern tropical, or even a beachy surf vibe. Each theme will guide your decor choices.
Elements to consider:
- Color scheme: Bright colors like turquoise, yellow, and pink can bring life to your space.
- Decor items: Think about bamboo furniture, tiki masks, and tropical plants.
- Lighting: Use tiki torches, string lights, or lanterns to create a relaxed ambiance.
Remember, your theme sets the mood for gatherings, so pick something that makes you happy.
Layout and Space Planning
Next, think about how you will arrange your tiki bar. The layout depends on the space you have available, whether it’s indoors or outdoors.
Tips for planning your space:
- Bar placement: Position the bar so it’s easily accessible.
- Seating options: Provide comfortable seating, like lounge chairs or stools, to encourage relaxation.
- Flow: Ensure there is enough room for people to move around without feeling cramped.
Using outdoor space? Create shaded areas with umbrellas or thatch to keep guests cool.
Material Selection for Authenticity
The materials you choose play a big role in capturing the tiki spirit. Authenticity can elevate the look of your bar.
Recommended materials:
- Bamboo: Perfect for furniture and decor. It gives an island feel.
- Thatch: Use it for roofing or as wall accents to enhance tropical vibes.
- Natural fibers: Incorporate items made of jute or sisal for texture.
Select items made from real wood or natural materials. This enhances the overall look and feels cozy and welcoming.
Lighting and Ambiance

Creating the right lighting and ambiance is essential for your tiki bar. It sets the mood and makes the space inviting. You can choose between natural and artificial light, each bringing a unique feel. Adding decorative elements can also enhance the atmosphere.
Natural vs. Artificial Lighting
Natural lighting brings warmth and an open feel to a tiki bar. Large windows can let in sunlight during the day. You might also think about using bamboo shades to soften the light and keep it comfortable.
Artificial lighting is key for evening gatherings. String lights or lanterns create a cozy atmosphere. Use colored bulbs for a more playful look. Remember to mix different types of lighting, such as task lighting for tables and softer lights in seating areas. This balance can help you achieve the perfect vibe.
Decorative Elements that Enhance Atmosphere
Decorative elements play a big role in setting the tiki bar’s mood. Consider using tiki torches and candles for a tropical feel. They provide soft light and add a fun touch.
You can also decorate with tropical plants. They bring a vibrant look and complement the lighting. Using themed tablecloths or tiki mugs can further enrich the environment.
Choose decor that reflects your personal style. Mixing different textures and colors can add depth. Aim for a balance of light and decorations that make your tiki bar feel like a relaxing getaway.
DIY Tiki Bar Projects

Creating your own Tiki bar can be a fun and rewarding experience. You can build one from scratch or use items you already have to create a unique space. Here are some great DIY projects to inspire you.
Building a Tiki Bar from Scratch
To build your own Tiki bar, start by deciding on the size and shape. Common materials are wood and bamboo. You can use plywood for the main structure. Here’s what you’ll need:
- Tools: Saw, drill, measuring tape
- Materials: Plywood, bamboo poles, wood screws, outdoor paint
Once you have the materials, cut the plywood to your desired size. Assemble the frame and attach the bamboo for a tropical look. Finally, paint with bright colors, or use outdoor stain for a weathered appearance. Adding thatch roofing is a great touch.
Upcycling for Tiki Decor
Upcycling is a great way to save money and get creative. Look around your home for items that can be transformed into Tiki decor. Here are some ideas:
- Old Pallets: Make bar stools or tables.
- Glass Bottles: Use them as candle holders or vases.
- Driftwood: Perfect for wall art or centerpieces.
You can paint old furniture with tropical colors or add tiki masks to give them flair. Simple changes can create a fun atmosphere that feels like an island getaway.
Accessorizing Your Tiki Bar

Adding the right accessories will enhance the fun and tropical vibe of your tiki bar. Focus on playful and vibrant items that reflect the spirit of island life.
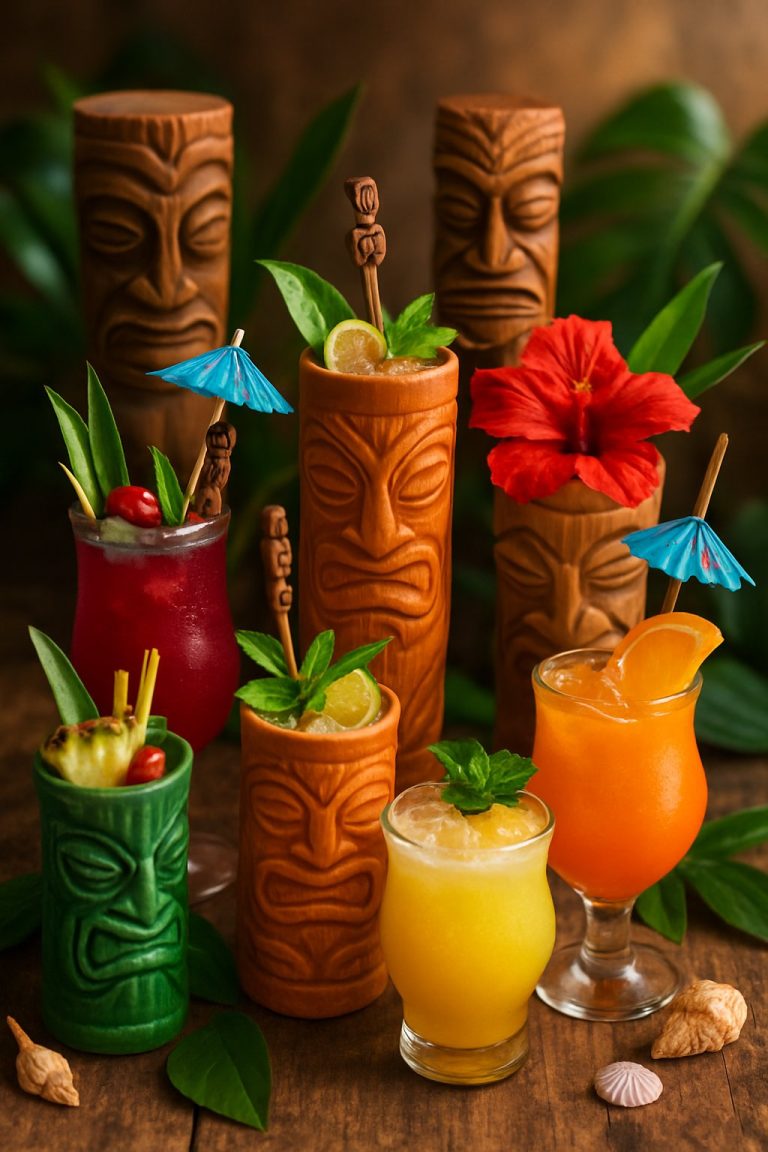
Tiki Mugs and Glassware
Tiki mugs are essential for any tiki bar. These colorful mugs come in various shapes, often featuring designs like tiki faces, palm trees, and beach scenes. You can collect unique pieces or choose a matching set for a cohesive look.
Popular Types of Tiki Mugs:
- Ceramic Mugs: Durable and available in many designs.
- Polyresin Mugs: Lightweight and often more affordable.
Additionally, consider themed glassware for cocktails. Using fun glasses elevates your drink presentation. Look for options like:
- Hurricane Glasses: Great for tropical cocktails.
- Coconut Cups: For that authentic beach feel.
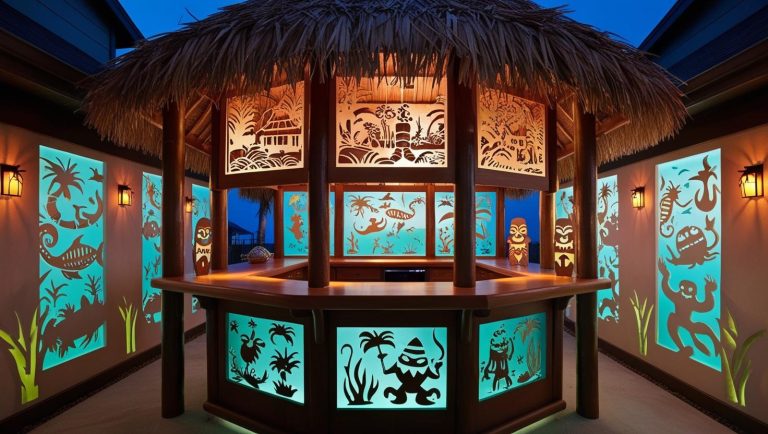
Wall Decor and Art
The walls of your tiki bar set the mood. Choose decorations that bring the outdoors in. Think about hanging up tropical prints, map art, or beach-themed signs.
Ideas for Wall Decor:
- Bamboo Panels: Adds an authentic tiki touch.
- Framed Tropical Posters: Bright colors and fun designs draw attention.
Don’t forget about lighting! String lights and tiki torches provide a warm glow. They enhance the atmosphere during evening gatherings and parties. Enjoy personalizing your space with these fun design elements.
Hosting and Entertainment

To make your tiki bar a fun spot, focus on a great menu and lively music. Both aspects can create a perfect tropical vibe for your guests.
Creating a Tiki Bar Menu
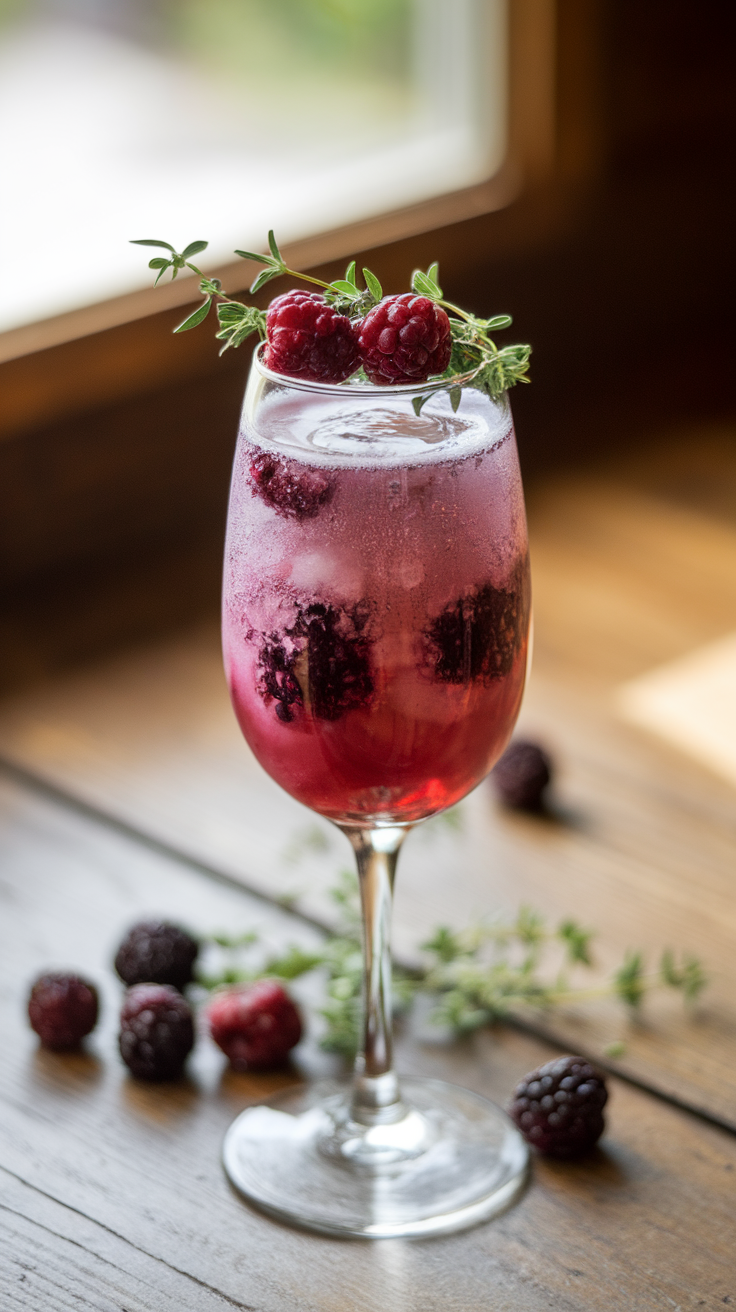
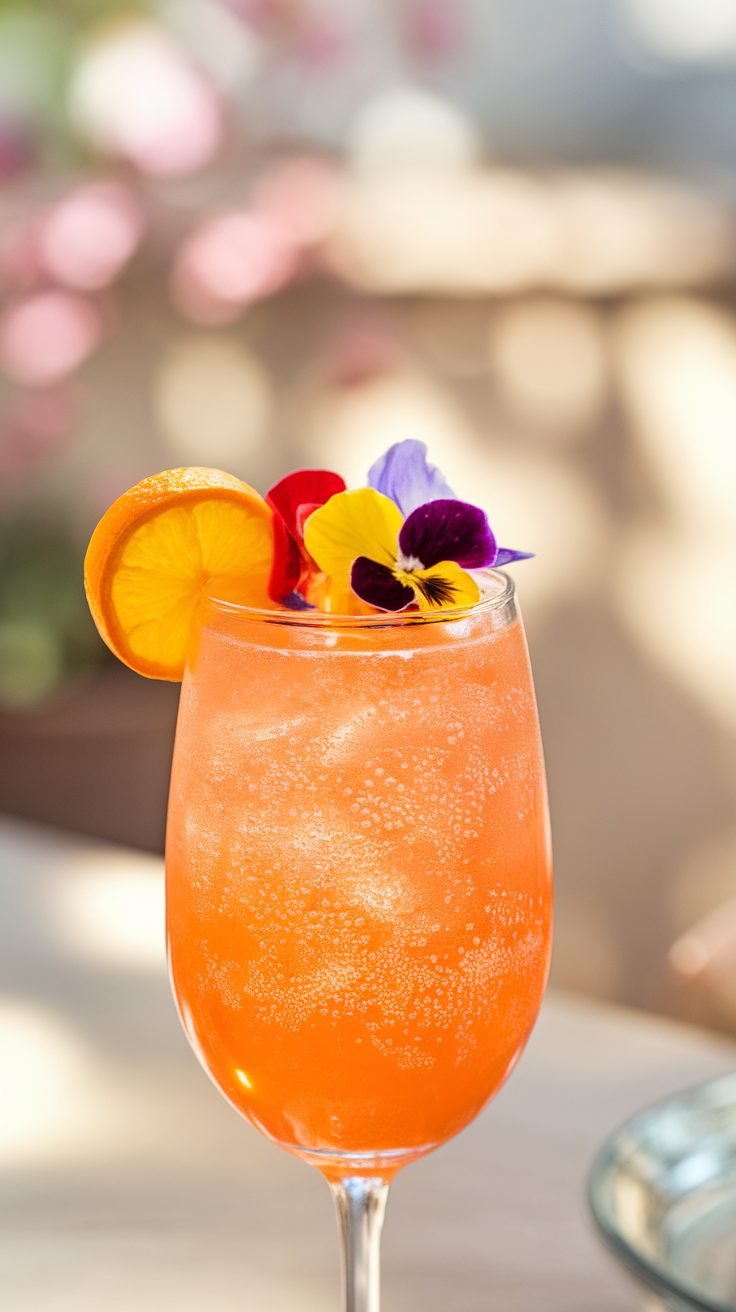
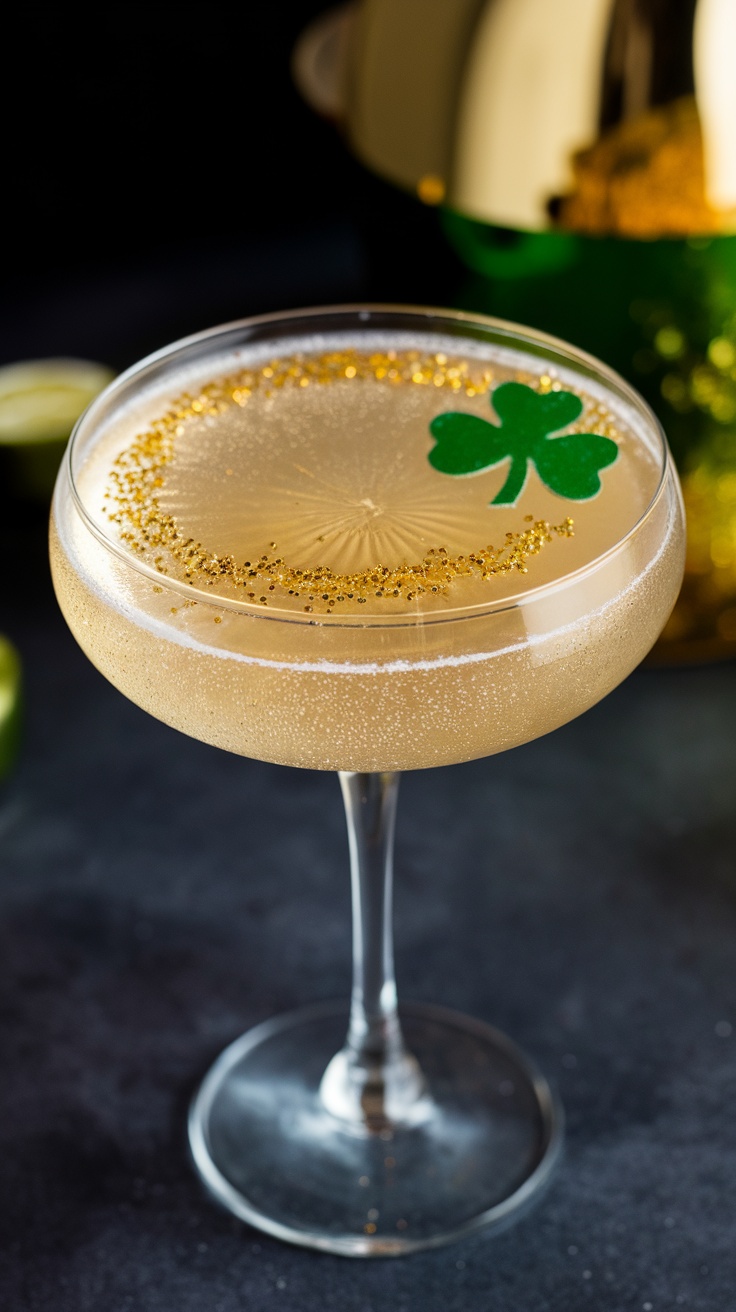
Start with refreshing drinks like Mai Tais, Pina Coladas, and Blue Hawaiians. Use colorful garnishes such as fruit slices, paper umbrellas, and edible flowers to make the drinks pop.
Consider adding fun appetizers like tropical salsa with chips or shrimp skewers. You can also serve pulled pork sliders or coconut shrimp for a tasty bite.
Make a menu board to display your offerings. Guests love to see what’s available. You could even theme your drinks. For example, name them after islands or famous figures in tiki culture.
Music and Entertainment
For music, choose upbeat tunes that fit the tropical theme. Reggae, surf rock, and classic Hawaiian music can create a lively atmosphere. You can also create a playlist of fun, feel-good songs that will keep your guests dancing.
Adding some entertainment can enhance the experience. Think about games like tiki-themed trivia or limbo contests. You could also hire a local musician to play live or set up a karaoke machine for added fun.
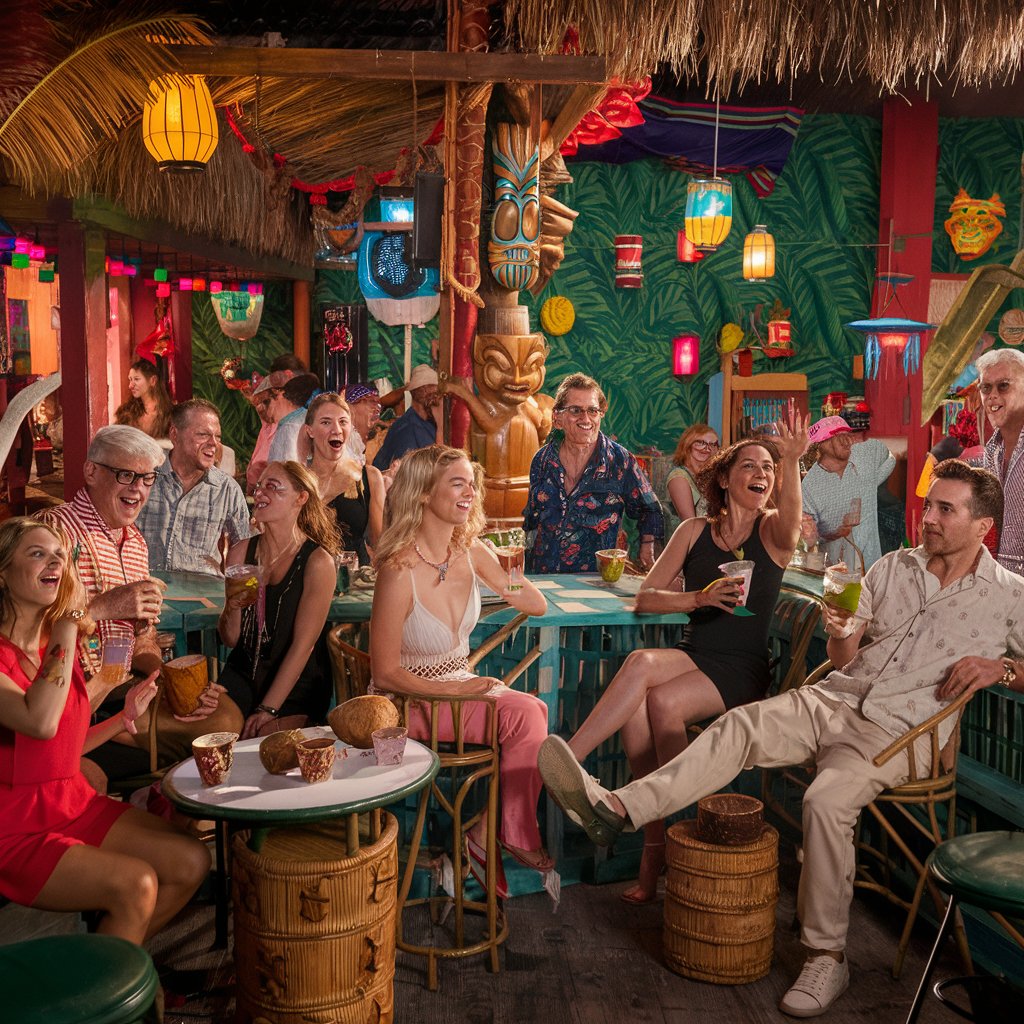
Decorate your space with string lights and tiki torches to set the mood. This way, as the day turns to evening, your backyard transforms into a lively tropical retreat.