How to Build an Outdoor Sauna for Backyard Relaxation and Therapy
What is a sauna?
A sauna is a small chamber or structure meant to provide dry or wet heat therapy. A sauna at home can be the ultimate luxury for those seeking the therapeutic benefits of heat.
Temperatures approaching and exceeding 100 °C (212 °F) would be unpleasant and potentially lethal in many situations if exposed for long periods of time. Saunas solve this problem by regulating humidity. Steam is generated by pouring water on hot stones in the hottest Finnish saunas, which have relatively low humidity levels. This enables air temperatures capable of boiling water to be tolerated and even enjoyed for prolonged periods of time.
Types of Saunas
Saunas can be dated back to Finland around 2,000 years ago. Sweat houses were also used by Mayans more than 3,000 years ago to promote good health and spirituality. Saunas have long been used for relaxation, therapy, health, and ceremonial in many civilizations around the world.
A sauna is a heated room that is heated to roughly 150 degrees Fahrenheit. Traditional Finnish saunas, dry saunas, steam baths (sometimes known as Turkish baths), and infrared saunas are the four types of saunas. From one type of sauna to the next, each experience is unique.
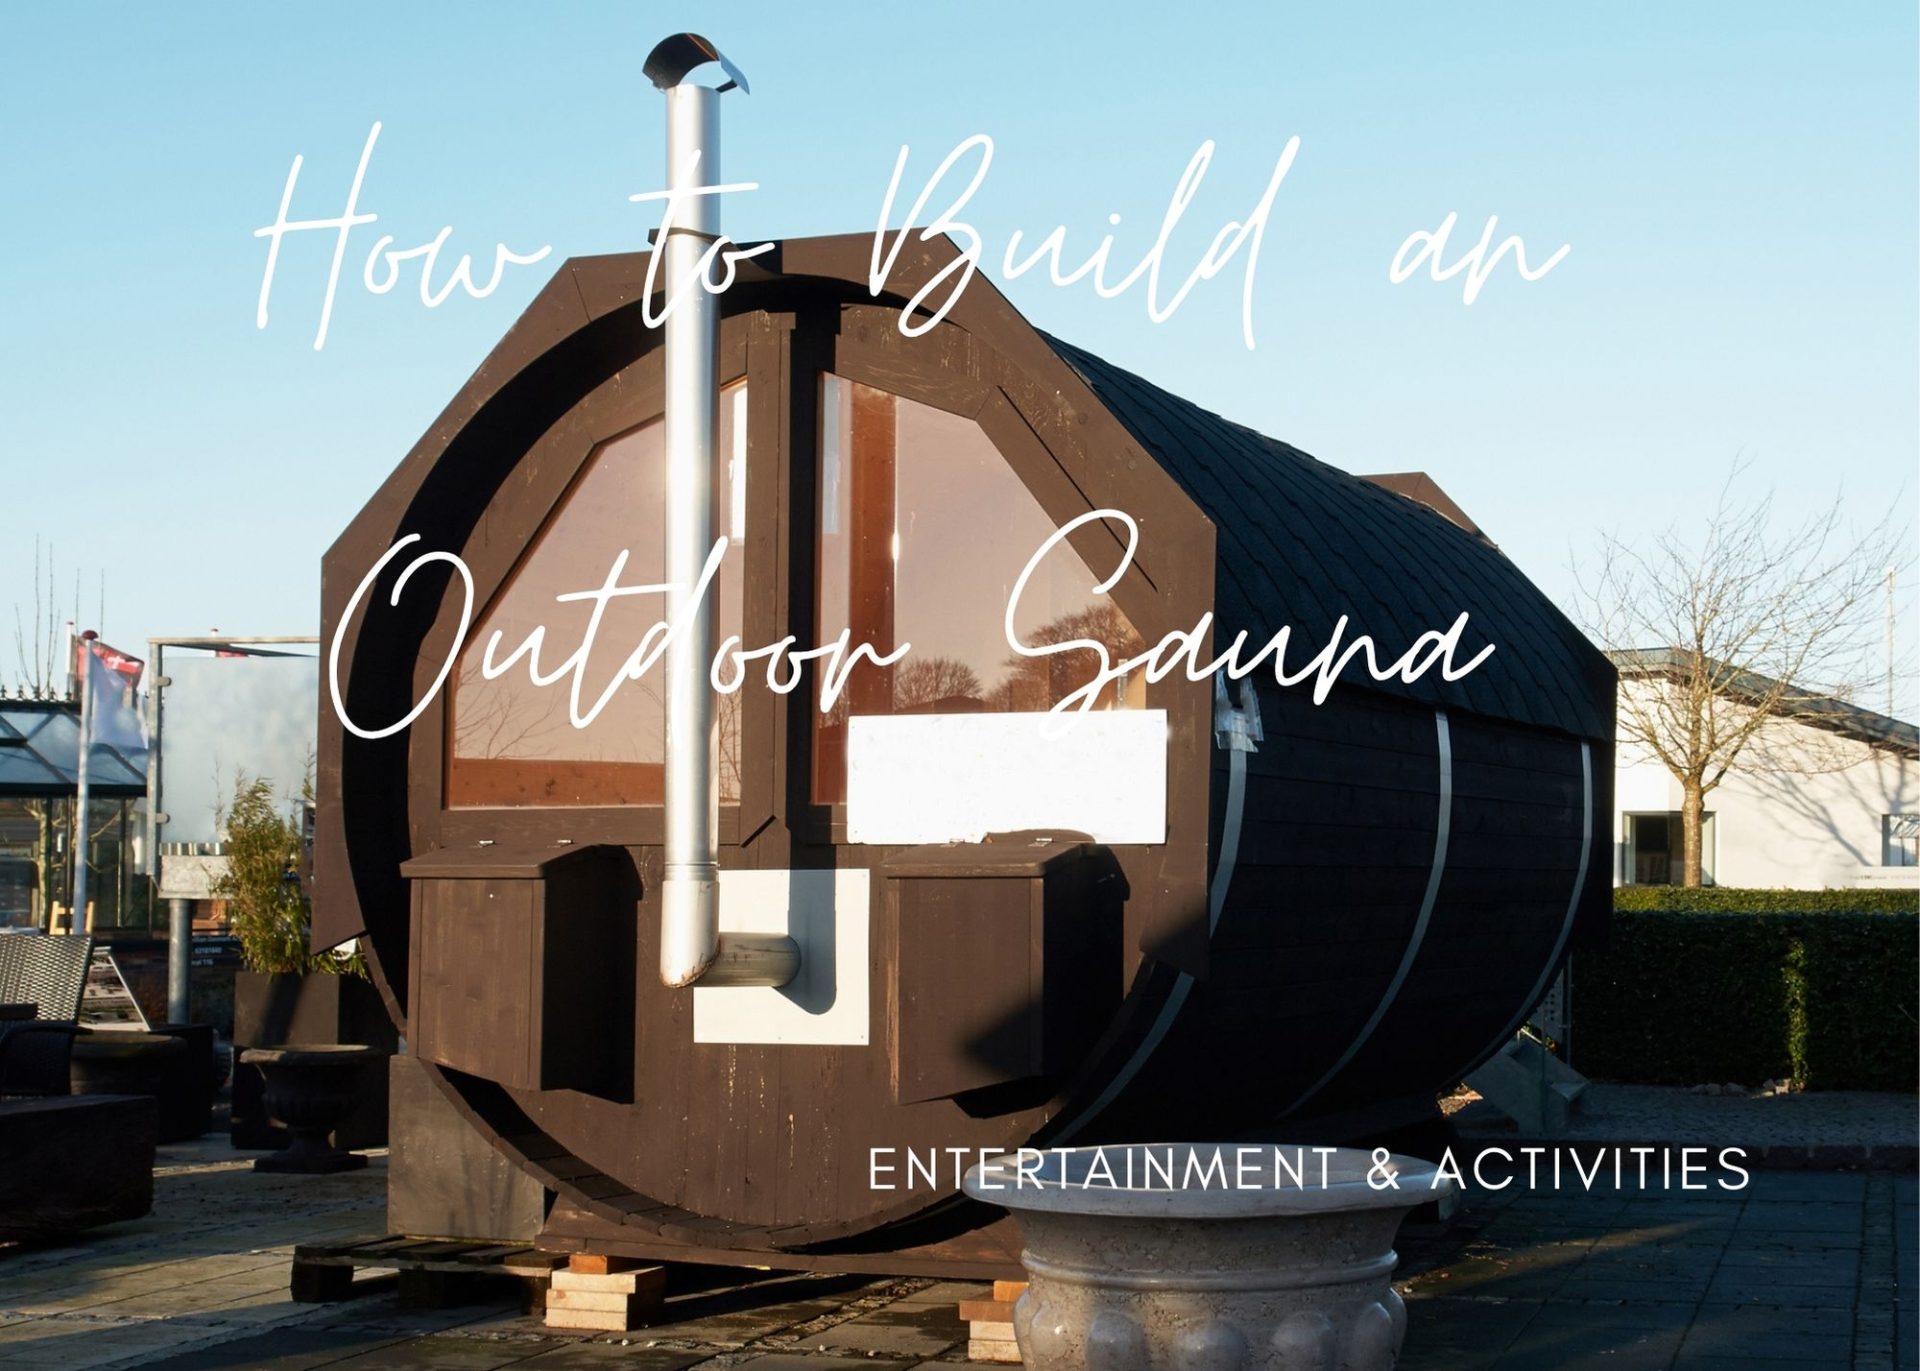
You probably have heard of a barrel sauna, a Finnish sauna, a woodburning sauna and even prefab backyard saunas. They come in many sizes and shapes and custom, diy plans can configure any size sauna box.
Cost of Saunas
A custom or kit sauna is surprisingly simple to construct from a sauna plan. A sauna is just an insulated hut, shed sauna or sauna building with a heat source that can be electric, gas, or wood-burning. A kit takes about twenty hours to build on average, but a custom design will take several weekends. Basic sauna kits range in price from $2,000 to $7,000, whereas DIY saunas range from $3,000 to $6,000.
How to Use a Sauna
It takes roughly 30 minutes for a modern sauna to heat up. To increase perspiration in the sauna, some users prefer to take a warm shower first. Sauna users frequently sit on a towel for hygiene and cover their heads with a towel if their faces are too hot but their bodies are comfortable.
The majority of temperature control in a sauna comes from amount of water dumped on the heater; this raises humidity, causing sauna bathers to sweat more profusely for the duration of their time in the sauna.
Direct radiation heats up the area nearest to the burner the most. As the hot air rises, the heating from the air will be lower on the lower benches. In different regions of the sauna, the heating caused by new steam might be highly variable. Because the steam rises straight up, it will spread across the roof and out to the corners, where it will be driven downwards. As a result, the heat of fresh steam can sometimes be felt most intensely in the sauna’s farthest corners.
As they become more accustomed to the sauna, users gradually increase the duration and intensity. When you pour water on the sauna heater, it cools it down, but it also advects additional heat into the air, making the sauna warmer.
Considerations When Selecting a Backyard Location for an Outdoor Sauna
Many people want to buy a sauna for their home to create a nice and high-quality wellness experience. A growing number of people are discovering that an outdoor sauna is the ideal solution to a lack of room indoors.
However, you must first choose the ideal place in order to make this a reality. Use these guidelines to place your sauna in your yard:
1) Locate a weather-protected place.
Water on the outside or interior of the saunas may rot the wood and electro-mechanical components.
Because they are primarily designed for indoor applications, infrared saunas are frequently plagued by deterioration from the elements and this can become unsightly. You may want to screen your sauna with plant materials to hide this.
Salt air locations will pose operating problems for outdoor saunas.
2) Sauna Covers
Use marine grade outdoor covers for outdoor saunas which will protect the sauna materials and your warranty.
3) Make certain that a roof is installed over the top
It is critical that your sauna has a roof or protection above it. This will help keep rain and other inclement weather out of the sauna.
Pay attention to the following considerations regardless of where you choose to build your sauna:
You must choose a level area. You’ll need flat ground and enough space to build a seven-foot-high, six-foot-wide box.
Any overhanging trees, flowing water, clutter, or other barriers must be removed from the area.
The foundation must be built on dry ground rather than on rocks or sand.
The area should have easy access to plumbing, power, and heating.
Your sauna should be built near a pool, shower, or other source of water. In addition to the showering you’ll need to get rid of the perspiration, your sauna may require water to cool down quickly.
If you decide to create an outdoor sauna, check with your local government to see if such projects are permitted. Check for any required permissions and make sure you have all of the necessary approvals. Additionally, ensure that you observe all safety precautions and that the sauna has been certified by a professional.
If you’re utilizing a woodburning stove as your heat source, having it a good distance from the home is a good safety idea. The fire hazard is kept away from the main house.
Make the structure at least four feet by six feet to accommodate two or three people, or larger if you desire more. They can be as small as a 4×5 outdoor sauna.
What do you need to build a DIY Sauna – Building Your Own Sauna
Sauna kits or prefab sauna
It’s far easier to buy a prefabricated sauna kit than it is to construct one from scratch. A DIY sauna kit can save you time and money if you are not an experienced DIYer.
Saunas with a Modular Free-Standing Design
Modular/Prefab saunas are designed to be erected by do-it-yourselfers or by a sauna specialized dealer and require absolutely no construction skills. Free-standing modular modules that may be put almost any where in your yard.
The sauna should ideally be near a shower and an outdoor patio/deck area. They must be installed on a waterproof surface, such as concrete or tile. Some prefabricated sauna kits include a waterproof floor that may be built on any type of foundation. Simply ensure that the sauna room is constructed by a reputable sauna company and that all of its components (particularly the heater) meet all technical and electrical safety requirements. The most crucial safety feature is to ensure that the heater and control are both UL® listed.They’re designed to be simple to set together, with some taking only a few minutes.
Building Your Own Sauna from Scratch
Steps in the Building Process
1. Pouring a three-inch concrete slab foundation is the first step. After that, frame the walls and roof with cedar or other wood. Make sure the ceiling height does not exceed seven feet. Allow for three ventilation points: above the heater, on the floor, and at the top. Also, install a little drain in the floor.
2. You must follow a plan or blueprint for fastening the boards together if you want to build an outdoor sauna. This may be simple if you have carpentry knowledge.
3. Begin nailing the cedar panels together on one side of the ceiling. People typically use western red cedar or white or red cedar. As a general rule, start with a layer of panels, then add insulation, and finish with an extra layer of boards.
Then construct a two-foot-by-six-foot sauna doorway. Most sauna doors come pre-framed, so this step is easy.
There is a low and a high bench. You can increase the width of the low bench, allowing individuals to sit on the high bench while their feet are on the low one.Build higher and lower benches with a depth of eighteen or twenty-four inches. Before stapling over with a sauna aluminum foil vapor barrier, insulate the walls with R13-rated insulation and the ceiling with R22-R26 insulation. Then use cedar to finish the inside over the vapor barrier. Cedar is aromatic, lasts a long time, and is more heat resistant than other woods.
4. Keep in mind that any nail heads that carry heat should be recessed and covered. Also, knots in the wood will heat up much more so than other parts of the wood. That is why you see more clear wood in saunas than not.
5. When it comes to wiring, make sure to select a licensed electrician. Check with your county to determine whether you also require a building permit.
6. The most significant component of your sauna is the heating element or sauna heater.
While infrared heating components are recommended, you can also use a good old-fashioned wood stove heating element. However, if you opt for wood heating, you may need to construct a chimney. Check with local building codes to see if this is allowed.
If you don’t want to go with the modern choice of an infrared sauna, an electric heater is a good alternative. These heaters can swiftly heat up the stones because they are inexpensive to run and exceedingly clean. There’s no need to keep a fire going or construct a chimney.
A powerful electric heater might cost anywhere from $100 to $500, depending on your preferences.
The heater’s installation could be difficult. If you can’t follow the manufacturer’s directions, put it at the front door, about 10 inches above the ground. Add a railing to the sauna heater or woodburning stove, especially if it’s a small one. You want to avoid any mishaps or burns if at all possible.
7. Next up are the sauna rocks. Wash the rocks properly and lay them inside or beneath the heating element and make sure you obtain the nicest volcanic rocks you can find. Follow the manufacturer’s instructions for your heating element when placing the heating element in your custom sauna.
8. Lighting is last. You can also consider installing solar panels or a wind turbine if you want to keep your sauna off-grid and still have light for nighttime use.
How to Maintain a Sauna
What is the best way to clean and maintain a sauna?
A sauna’s maintenance requirements are modest and are largely determined by how frequently it is used. Weekly (or less if used less) washing of the bench and wet-mopping of the floor is normal.
A simple tip: if sauna users make it a practice to scrub the benches for 30 seconds after each sauna session using a scrub brush dipped in the sauna water bucket, the benches will look brand new for many years and preserve the pristine appearance of your sauna design.


