How to Build a Tiki Hut: Easy Outdoor Bar Projects You’ll Love
Complete DIY Tiki Bar Build Guide: Transform Your Patio into a Tropical Paradise
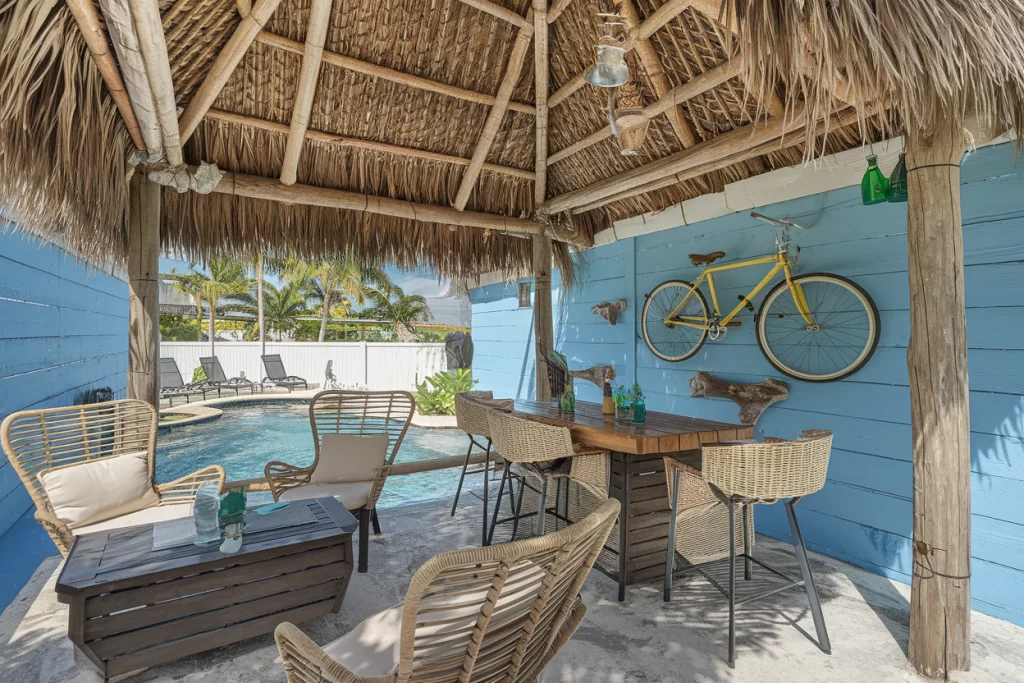
Transform your boring patio into a resort-style tiki oasis with this comprehensive step-by-step guide. This project combines carpentry, plumbing, electrical work, and landscaping to create the ultimate backyard escape.
Materials and Tools Needed
Lumber and Hardware
- 4×4 pressure-treated posts (4 pieces, 8 feet long)
- 2×4 pressure-treated lumber (12 pieces, 8 feet long)
- 2×6 lumber for bar top support (4 pieces, 8 feet long)
- 3/4″ marine-grade plywood (2 sheets, 4’x8′)
- Cedar dog-eared fencing boards (20 boards, 6 feet long)
- Galvanized screws (2.5″, 3″, and 4″ lengths)
- Pocket hole screws (1.25″ and 2.5″)
- Hinges for cabinet doors
- Drawer slides
- Cabinet handles and hardware
Tools Required
- Kreg Jig for pocket holes
- Circular saw or miter saw
- Drill/driver
- Level (4-foot recommended)
- Measuring tape
- Speed square
- Clamps
- Router (optional, for rounded edges)
- Sandpaper (120, 220 grit)
Finishing Materials
- Mineral spirits
- Spar urethane (marine grade)
- Boiled linseed oil
- Brushes and rags
- Painter’s tape
Phase 1: Planning and Site Preparation
Step 1: Design Your Bar Layout
- Measure your patio space and mark the desired bar location
- Sketch your bar design including:
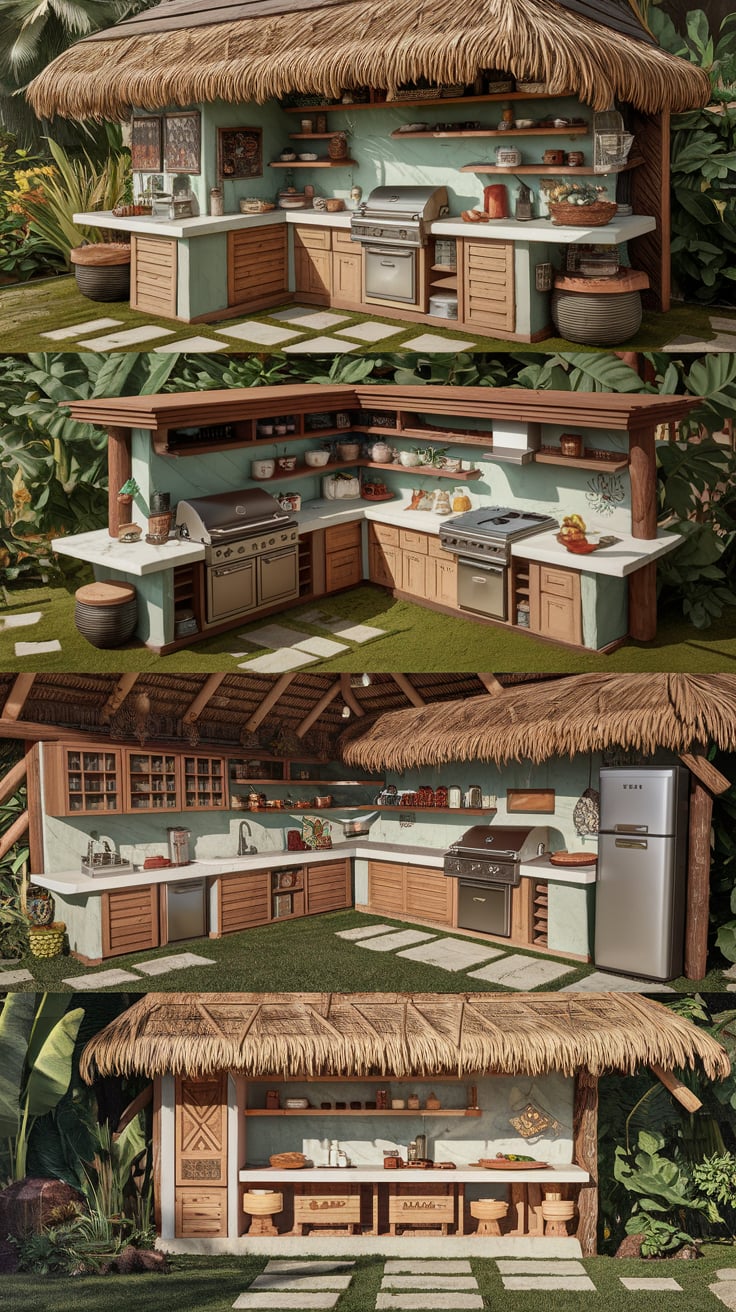
- Overall dimensions (recommended: 8′ wide x 2′ deep x 42″ tall)
- Lower cabinet height (36″)
- Upper bar overhang (12″)
- Mini fridge space (24″ wide x 24″ deep minimum)
- Plan electrical and plumbing runs if needed
Step 2: Clear and Prepare the Area
- Remove all existing furniture and decorations
- Clean the patio surface thoroughly
- Check for level using a 4-foot level
- Mark the bar footprint with painter’s tape
- Verify measurements and adjust as needed
Step 3: Gather Materials
- Create a detailed shopping list based on your design
- Order lumber delivery (typical cost: $300-500)
- Purchase hardware and fasteners
- Acquire specialized tools if not owned
Phase 2: Building the Foundation Structure
Bar design specs based on structure profiled in above video.
Step 4: Cut Lumber to Size
- Cut 4×4 posts:
- 4 pieces at 36″ for vertical supports
- 2 pieces at 93″ for horizontal base rails
- Cut 2×4 lumber:
- 4 pieces at 93″ for top and bottom plates
- 6 pieces at 21″ for cross supports
- 4 pieces at 33″ for vertical studs
Step 5: Assemble the Base Frame
- Lay out the bottom frame on the patio
- Use Kreg Jig to drill pocket holes on the inside faces
- Assemble the rectangular base frame (96″ x 24″)
- Check for square by measuring diagonals
- Secure with 2.5″ pocket screws
Step 6: Install Vertical Supports
- Position 4×4 posts at each corner of the base frame
- Use clamps to hold posts plumb and level
- Secure posts to base frame with 4″ galvanized screws
- Install intermediate 2×4 studs every 24″ on center
- Double-check all verticals with level
Step 7: Add Top Frame Structure
- Cut 2×6 lumber for bar top support:
- 2 pieces at 96″ for front and back
- 2 pieces at 21″ for sides
- Create pocket holes on underside of 2x6s
- Attach top frame to vertical posts
- Ensure frame is level and square
Phase 3: Plumbing Integration (Optional)
Step 8: Plan Water Supply
- Locate existing water lines (PEX tubing for irrigation)
- Turn off water supply at main valve
- Install T-fitting to tap into existing line
- Run new 1/2″ PEX tubing to sink location
Step 9: Install Sink Plumbing
- Cut access hole in back panel for plumbing
- Install shut-off valve near sink location
- Connect flexible supply lines to faucet
- Test connections for leaks
- Install drain line to appropriate disposal point
Phase 4: Bar Top Construction
Step 10: Cut and Prepare Plywood Base
- Measure and cut marine-grade plywood:
- Main top: 96″ x 30″ (includes 6″ overhang)
- Lower shelf: 93″ x 21″
- Sand all surfaces with 120-grit sandpaper
- Route edges with 1/4″ roundover bit (optional)
Step 11: Apply Cedar Overlay
- Measure and cut cedar fencing boards:
- Rip boards to 3.5″ width for consistent appearance
- Cut to length allowing for overhang
- Apply wood glue to plywood surface
- Clamp cedar boards in place, ensuring tight joints
- Secure with 1.25″ screws from underneath
- Sand entire surface with 220-grit sandpaper
Step 12: Install Bar Top
- Position bar top on frame structure
- Secure with 3″ screws from underneath
- Ensure overhang is consistent all around
- Check for level and make adjustments
Phase 5: Cabinet Construction
Step 13: Build Cabinet Doors
- Cut door stiles and rails:
- Stiles: 1.5″ x 3″ x door height
- Rails: 1.5″ x 3″ x (door width – 6″)
- Create pocket holes on rail ends
- Assemble door frames with pocket screws
- Square up doors and let glue cure
- Sand doors smooth
Step 14: Install Cabinet Hardware
- Cut door panels to fit frame openings
- Secure panels with wood glue and brads
- Install hinges on cabinet doors
- Mount doors to cabinet frame
- Install handles and adjust door alignment
Step 15: Build Drawers
- Cut drawer parts:
- Front/back: 1/2″ x 4″ x (inside width – 1″)
- Sides: 1/2″ x 4″ x (inside depth – 1″)
- Bottom: 1/4″ plywood
- Assemble drawer boxes with glue and screws
- Install drawer slides according to manufacturer specs
- Test drawer operation and adjust as needed
Phase 6: Finishing and Protection
Step 16: Apply Protective Finish
- Mix 3-2-1 finishing solution:
- 3 parts mineral spirits
- 2 parts spar urethane
- 1 part boiled linseed oil
- Apply thin, even coats with brush
- Allow 24 hours drying time between coats
- Apply minimum 3 coats for outdoor protection
- Sand lightly between coats with 220-grit
Step 17: Install Electrical Components
- Run 12-gauge wire from house panel to bar area
- Install GFCI outlet in weatherproof box
- Mount ceiling fan with lighting
- Install LED strip lighting under bar overhang
- Connect remote control system for convenience
Phase 7: Tiki Atmosphere Creation
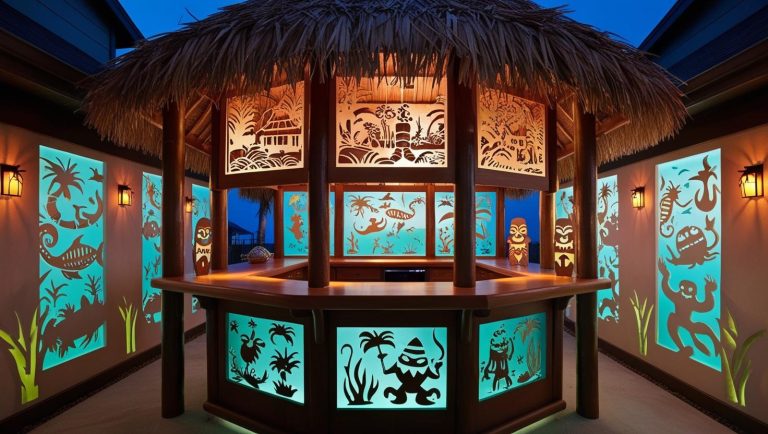
Step 18: Install Tiki Masks and Totems
- Purchase 40-inch tiki masks (4 pieces)
- Mount masks at each corner of bar structure
- Use galvanized screws appropriate for mask material
- Ensure masks are level and properly secured
Step 19: Create Video Porthole Feature
- Purchase authentic porthole from marine supplier
- Install LCD monitor behind porthole glass
- Connect media player with 4K marine life videos
- Set up continuous loop playback
- Test system and adjust brightness for ambiance
Step 20: Add Tiki Lighting
- Install tiki torches around perimeter:
- 2 tiki face torches near bar
- 12 traditional tiki torches for border
- Add bamboo border lights for pathway
- Install solar accent lighting as needed
- Test all lighting systems
Phase 8: Tropical Landscaping
Step 21: Install Planter Systems
- Position Moai/Easter Island planters strategically
- Add tiki face planters for variety
- Ensure proper drainage in all planters
- Fill with appropriate potting soil
Step 22: Plant Selection and Installation
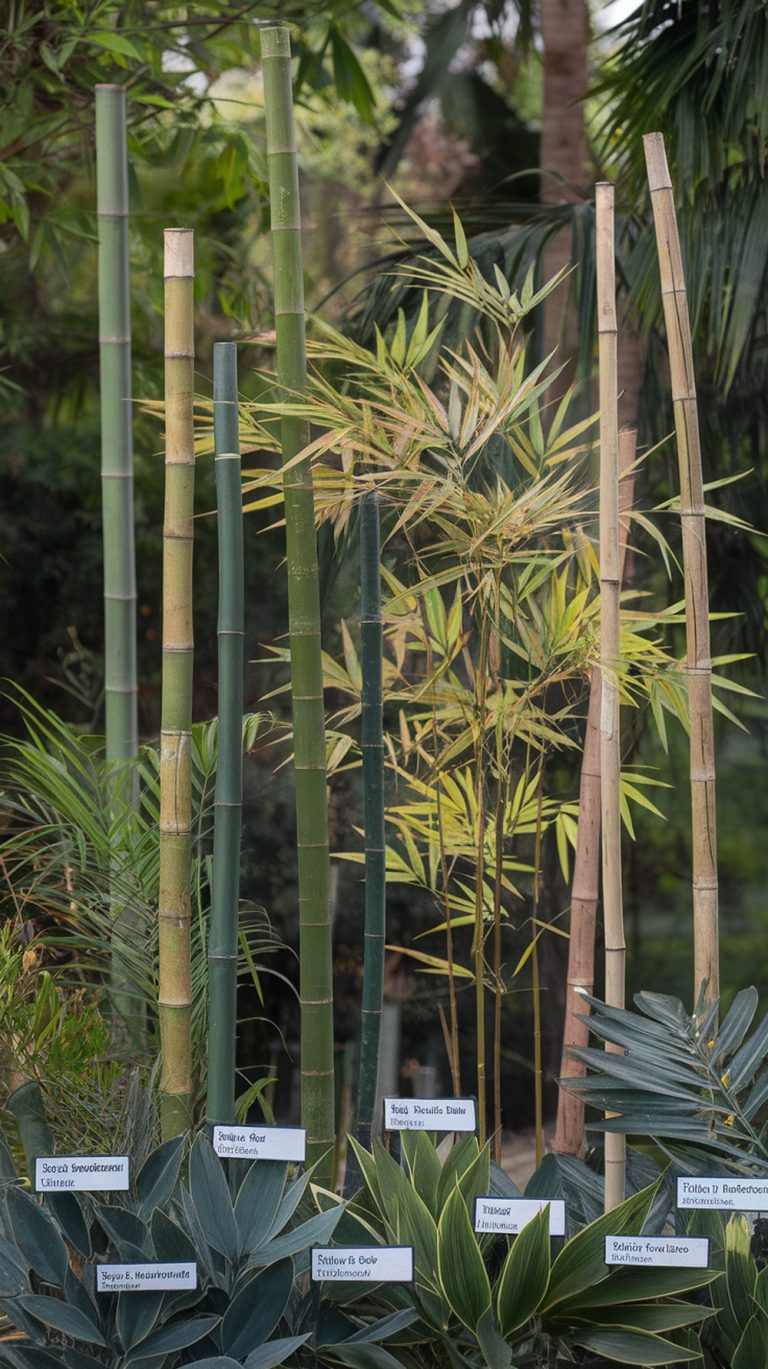
- Choose tropical plants suitable for your climate:
- Palm varieties: Majesty Palm, Windmill Palm, Ponytail Palm
- Large foliage: Elephant Ear varieties, Monstera Deliciosa
- Flowering plants: Plumeria, Pink/Red Hibiscus
- Accent plants: Crotons, Ti plants, Golden Pothos
- Plant in MG Palm, Cactus & Citrus soil
- Water thoroughly after planting
- Mulch around plants to retain moisture
Step 23: Establish Watering System
- Extend drip irrigation to new plantings
- Install timers for automated watering
- Add soaker hoses for larger plants
- Test system and adjust flow rates
Phase 9: Bar Stocking and Accessories
Step 24: Install Bar Equipment
- Mount four-bottle liquor dispenser
- Install mini refrigerator in designated space
- Add sink and faucet (if plumbing installed)
- Mount neon cocktail signs
- Install sound system speakers
Step 25: Add Tiki Accessories
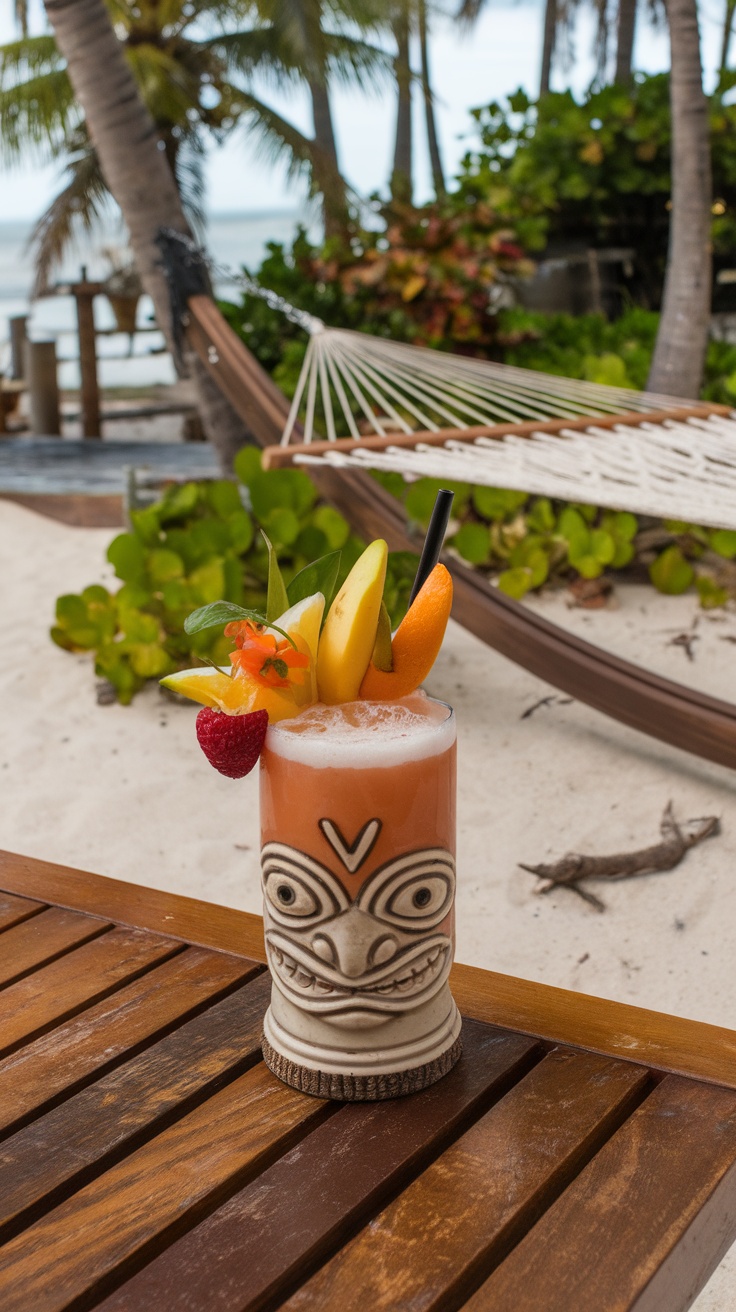
- Stock tiki mugs and glassware
- Install parrot bottle holder
- Add Captain Morgan rail mat
- Display tiki-themed surfboard
- Position conversation pieces (pirate skull, etc.)
Step 26: Final Touches
- Install pull-chain ceiling fan with parrot motif
- Add bamboo wind chimes
- Position portable tiki bar cart for extra storage
- Install weatherproof storage for cushions
- Add emergency lighting for safety
Phase 10: Maintenance and Care
Step 27: Establish Maintenance Schedule
- Weekly: Clean bar surface, water plants, refill tiki torches
- Monthly: Check and tighten hardware, prune plants
- Seasonally: Reapply finish to wood surfaces, fertilize plants
- Annually: Deep clean all components, inspect electrical connections
Step 28: Seasonal Plant Care
- Research cold protection for tropical plants
- Plan for plant relocation or covering in winter
- Establish pruning schedule for optimal growth
- Monitor for pests and diseases
Troubleshooting Common Issues
Structural Problems
- Wobbly bar: Check all connections and tighten screws
- Uneven surfaces: Adjust leveling feet or shim as needed
- Door alignment: Adjust hinges and check frame square
Plant Care Issues
- Yellowing leaves: Usually overwatering or poor drainage
- Stunted growth: May need fertilizer or larger container
- Pest problems: Use appropriate organic treatments
Budget Breakdown
Basic Structure: $400-600
- Lumber and hardware
- Basic tools (if not owned)
- Finishing materials
Electrical and Plumbing: $200-400
- Wiring and outlets
- Plumbing supplies
- Professional consultation if needed
Tiki Decor and Accessories: $300-500
- Masks and totems
- Lighting systems
- Bar accessories
Landscaping: $400-800
- Plants and planters
- Soil and amendments
- Irrigation supplies
Total Project Cost: $1,300-2,300
Safety Considerations
- Electrical: Use GFCI protection for all outdoor outlets
- Fire safety: Keep fire extinguisher accessible, maintain safe distances from tiki torches
- Structural: Ensure all connections are secure and inspected regularly
- Weather protection: Secure loose items during storms
This comprehensive tiki bar project transforms an ordinary patio into an extraordinary tropical escape. The combination of solid construction, authentic tiki styling, and lush landscaping creates a resort-quality experience in your own backyard. Take your time with each phase, and don’t hesitate to modify the design to suit your specific space and preferences.
Remember to check local building codes before beginning construction, and consider consulting professionals for electrical and plumbing work if you’re not experienced in these areas. With patience and attention to detail, you’ll create a stunning tiki oasis that will be the envy of your neighborhood.